Backsplashes provide homeowners with the avenue to express their creativity with different colors, textures, and materials.
Although more popular in the kitchen, glass backsplashes are also used in the bathrooms as well. The ideal walls for glass backsplash installations are walls directly behind sinks and then stretch the entire length of the countertop, especially for kitchen walls. The goals of installing backsplash are:
- To keep water and splatter away from the walls.
- To protect the walls against unintended water splashing, which can lead to the wall damage with water.
- To protect the wall from grease splatter and food splatter during the preparation of meals.
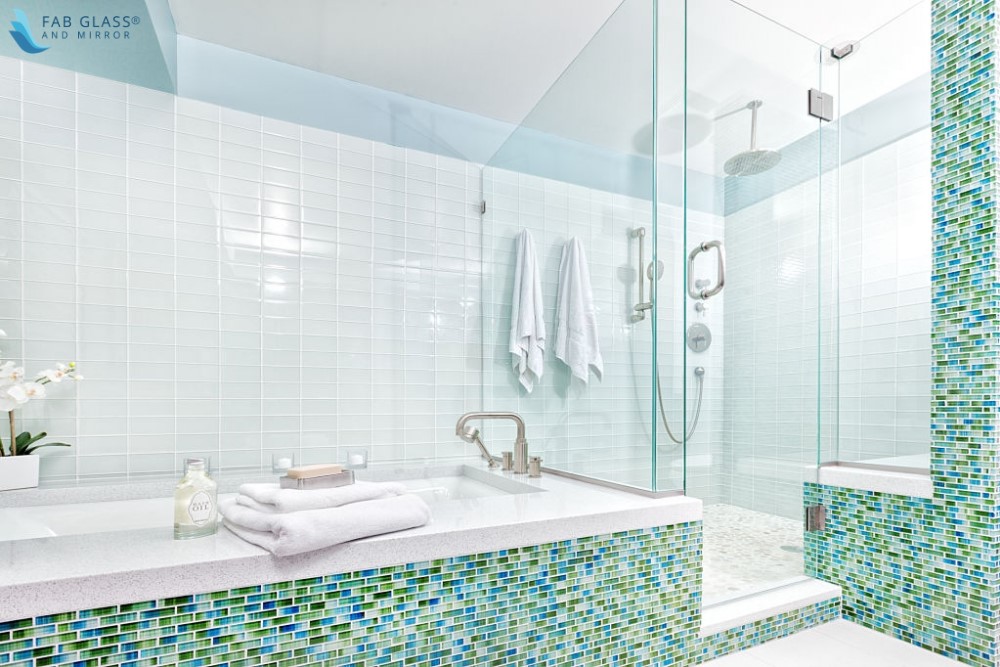
- They are used to create a glamorous visual layout where they are placed.


Tools and Materials Needed for Preparing Wall for Glass Tile Backsplash Installation
The backsplash material to be installed will determine the tools and materials needed for a do-it-yourself installation. In this guide, we will be addressing how to install glass tiles backsplash.
The tools required are:
- Level
- Bucket
- 1/8″ tile spacers
- Tape measure
- Wet saw
- Sponge
- Grinding stone
- Rubi cutter
- Safety glasses
- 3/16″ square-notched trowel
- Float
Materials required for glass tiles installation are:
- Thinset
- Glass tiles
- Unsanded grout
- Polyurethane
- Speed square
Steps for a Glass Tile Backsplash Installation
This requires medium to intermediate skill level and can be completed in a day.u003cbr/u003e
Total Time: 1 day
u003cstrongu003eMeasure and make Layout of Glass tilesu003c/strongu003eu003cbr/u003e
Measure from the bottom of the cabinet to the top area of your countertop. Plan how you want the glass tiles to look and consider where to place accent tiles if you will be adding one.u003cbr/u003eu003cbr/u003eLocate the center of the wall, and then use the level to draw a straight line through the wall from one end to the other.u003cbr/u003eu003cbr/u003eUse this measurement to determine the number of tile rows you will be placing, include one-eight-inch grout lines in the measures. Use the measures to determine if there will be tile cutting for the ends of the wall and the last row of tiles.u003cbr/u003e
u003cstrongu003eCreate a Thin-set Mixture and Applyu003c/strongu003eu003cbr/u003e
Add mortar to water in little quantities till you achieve the desired consistency that looks like creamy peanut butter. Wait for the mortar to set for about 30 minutes.u003cbr/u003eu003cbr/u003eUsing a 3/16-inch notched trowel guarantee proper depth, apply the thin-set to the wall in smooth, even strokes.u003cbr/u003eu003cbr/u003eHave a sponge and water close by to clean as you work. Apply thin-set to a two square foot area at a time and don’t apply too much.u003cbr/u003e
u003cstrongu003eSet the Glass Tilesu003c/strongu003e
u003cbr/u003eSet the glass tiles on the thin-set, starting from the bottom rows and work your way up. Press and twitch each glass tile to place it firmly into the mortar. Make sure each tile is flat, level, and plumb. Add accent tiles and maintain vertical and horizontal lines using the level.u003cbr/u003eu003cbr/u003eAs you work on the tiles, use the 1/8-inch spacers to maintain a steady space amidst the glass tiles. You can remove the spacers once the mortar begins to dry.
u003cstrongu003eCut and Polish Tilesu003c/strongu003e
u003cbr/u003eIf there will be a need to cut tiles, use a Rubi cutter. This is operated manually. Place the tile on the cutter, set the tile cutter stop to the exact width, put the blade down, and score the glass tile in a smooth motion. Pull down the handle of the cutter to cut the tile. Use the grinding stone to polish the edges of cut tiles.
u003cstrongu003eGrout the Glass Tilesu003c/strongu003e
u003cbr/u003eUse unsanded grout to avoid scratches on the glass tiles.u003cbr/u003eu003cbr/u003eMake sure the mortar is set, and the glass tiles are free from the excess mortar. Use a float to apply the grout at a 45-degree angle. Do not exert too much pressure on the tiles so as not to push them into the mortar.u003cbr/u003eu003cbr/u003eOnce done, move over to the area with dry grout and clean the grouted tiles with a wet sponge. This should also be done at a 45-degree angle.u003cbr/u003eu003cbr/u003ePolish the grout film off the glass tiles with a soft cloth and that is all.
For your glass tiles and glass sheets, Fab Glass and Mirrors have a variety of options, styles, and sizes. Visit the store today.